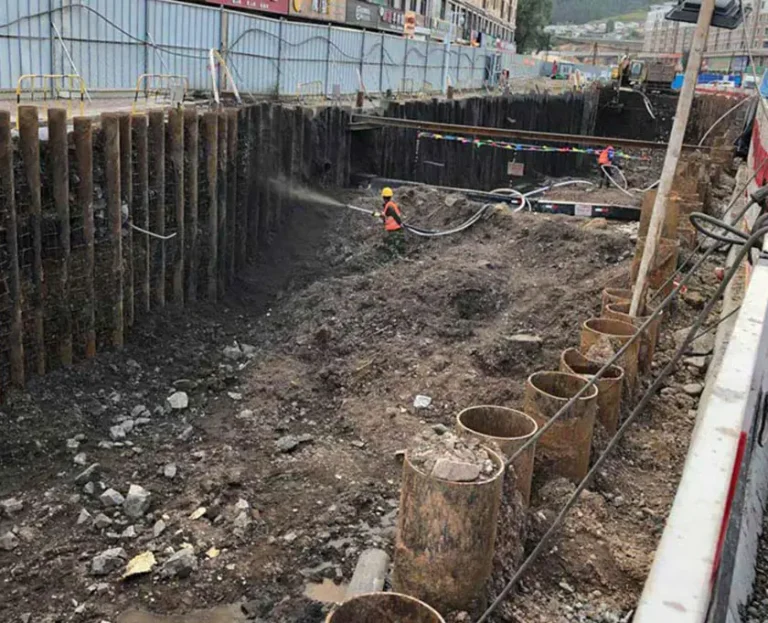
Custom Piling Machines, Factory Direct
Custom Piling Machines, Factory Direct


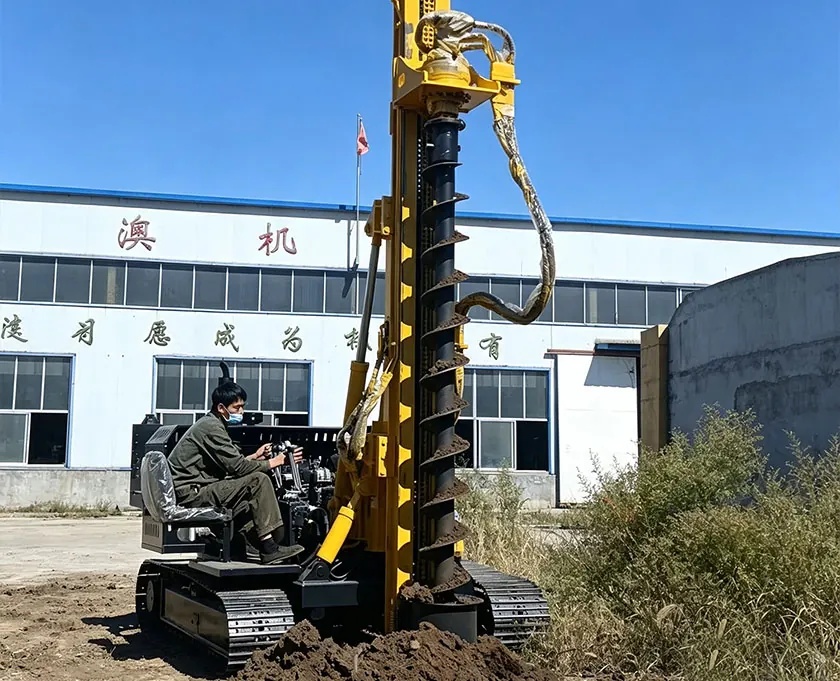
A ground screw foundation is a steel shaft with a helical thread that is rotated into the ground to carry a solar array’s mounting structure without concrete. This guide explains how a ground screw foundation is installed on a solar farm, how ground conditions change the method, and which equipment to use.
Ground screw foundation installation follows a set order: check the site and buried services, set out the positions, pre-drill where the ground is dense or stony, drive each screw plumb while watching torque, record the torque, test a sample of screws, then fit the racking. Soft ground may need only the drive head. Dense clay and gravel often need a pilot hole. Solid rock needs drilling before the screw goes in. The right machine depends on the screw size, the ground and the site.
A ground screw foundation is a prefabricated steel shaft with a helical thread that is screwed into the ground to carry load. On a solar farm it supports the frame that holds the modules. The screw passes load into the soil through friction along its shaft and, where it reaches a firm layer, through its tip.
The soil is pushed aside as the screw turns in, so no soil comes out of the ground and no concrete is poured. In some markets the same foundation is called a screw pile or a helical pile; this guide uses the term ground screw. Ground screws are one kind of piling foundation, and they belong to the screw piles family.
Ground screws for solar mounting are usually small in diameter. A 2026 conference paper puts small ground screws at about 150 mm in diameter, while screws over 400 mm are designed like steel piles and serve other structures.
Solar farms use ground screw foundations because they install fast, need no concrete and suit many ground types. A farm may need thousands of foundations, so anything that removes forming, pouring and curing saves time on the critical path.
Ground screws are not the answer for every site. The foundation designer decides whether the ground, the loads and the corrosion risk suit a screw. The table compares the common solar foundation types.
| Foundation type | How it is installed | Where it works well | Main limit |
|---|---|---|---|
| Ground screws | Rotated into the ground, with a pilot hole where needed | Many soil types, sites that want no concrete | Rock and very dense layers need pre-drilling |
| Driven posts | Steel posts pushed or hammered in | Soft or medium ground | Can stop short in dense or rocky ground |
| Concrete footings | Hole or form, then concrete is poured | Sites with a design that needs concrete | Curing time, formwork and material delivery |
| Ballasted blocks | Blocks sit on the surface | Sites where the ground cannot be penetrated | Heavy, and wind acts on a taller structure |
The loads that size a solar ground screw foundation are mostly wind loads, not the weight of the array. Wind on tilted modules tries to pull the structure upward and push it sideways, so the foundation needs uplift and lateral capacity as well as compression capacity.
The designer also checks embedment depth, soil corrosion and, in cold climates, frost movement. Screw length, shaft diameter, thread size and coating are then chosen from soil data and load tests. Pile load tests are the standard way to prove a ground screw’s capacity, because its shape makes the load transfer hard to calculate. This is an engineer’s decision. The installing contractor and the machine supplier follow the design and report what the ground does.
Installing a ground screw foundation takes seven steps, and the quality records matter as much as the speed. The order below is a general practice, and the project specification always comes first.
Installation torque is the turning force at the screw head while it goes in. It changes with soil and depth, and for small ground screws it is usually below 25 kN·m according to the ICSMGE 2026 ground screw paper. Engineers compare the torque record with load-test results, and the paper expects torque monitoring to reduce the number of load tests in future.
If the torque stays low because no firm layer is reached, the designer may add extension sections until the screw reaches a bearing layer, or design the screw as a floating foundation.
Most ground screw problems come from a few repeated mistakes, and each one can be checked on site. These are the ones that crews and engineers watch for.
Solar ground screws are installed in different ways depending on how hard the ground is. The table shows the usual approach for each ground type, and the designer’s specification still decides.
| Ground | What usually happens | Usual approach |
|---|---|---|
| Soft or loose soil | The screw advances easily and torque stays low | Drive directly, and add extension sections if no firm layer is found |
| Dense clay or gravel | The screw advances slowly and can drift | Drill a smaller pilot hole first, then drive |
| Cobbles and stones | The screw can stop or deflect | Back it out and retry, or pre-drill through the obstruction |
| Solid rock | The screw cannot thread in | Drill a hole with a DTH hammer, then place the screw |
Note: In hard or stony ground, drilling a pilot hole before installing a screw is a common way to keep the screw on line.
Corrosion needs a separate check. Soil moisture, salts and acidity wear steel over the life of a solar farm. Ask the screw maker for the coating specification and compare it with the soil survey before ordering.
Ground screws are installed with hand-held drivers, a drive head carried on another machine, or a dedicated crawler machine. The choice depends on the number of screws, the screw size and the ground.
| Option | Typical use | Limits |
|---|---|---|
| Hand-held driver | Small jobs with few screws | Limited torque, slow on large screw counts, hard on dense ground |
| Drive head on an excavator or skid steer | Mixed jobs where the carrier is already on site | The carrier’s size, stability and hydraulic flow set the limit |
| Dedicated crawler screw machine | Solar farms with many screws and hard ground | Needs transport to site and room to work |
A crawler machine can carry more than one tool. It can pre-drill with an auger, drive the screw with a drive head, and in rock drill with a DTH hammer, so one machine covers the whole sequence at each position.
You choose an installation machine by matching it to the screw and the ground first, and to the site second. The checklist below shows what to ask a supplier.
| What to check | Why it matters |
|---|---|
| Screw diameter and length | Sets the torque the machine must deliver and the depth it must reach |
| Power head torque | The head must turn the screw in your ground, and installation torque rises with depth and density |
| Tools available | Auger, drive head and DTH hammer cover soft ground, hard ground and rock |
| Mast tilt and plumb control | Keeps each screw on line, including on sloping rows |
| Tracks and ground pressure | Decides whether the machine can work on soft or sloping ground |
| Transport size and weight | Decides whether the machine can reach the site |
| Power options | Hydraulic, electric or hybrid may suit sites with limited fuel or noise limits |
| Torque recording | Ask whether the machine or an add-on records installation torque |
Ask for specifications in writing, and treat claims such as “drills through anything” with caution unless the supplier states the tool, the torque and the ground they apply to.
Tengzhou Kaiao Construction Machinery Co., Ltd. builds a crawler ground screw machine for solar piling. It takes auger, ground screw or DTH hammer tooling on the same machine: it drills pilot holes, screws in ground screws and drills rock.
| Model | Weight | Auger hole / depth | Power head |
|---|---|---|---|
| WD-4B | 4.5 t | Φ150–600 mm / 4 m | 10 kN·m / 52 rpm |
| WD-6B | 6.2 t | Φ150–750 mm / 5 m | 16 kN·m / 68 rpm |
Both are crawler machines with a travel speed of 5 km/h and a gradeability of 30°, and power can be all-hydraulic, pure electric or hybrid. Rated depths are for the auger, and actual depth depends on the auger configuration and the ground. Drive head and DTH hammer specifications are available on request. Send the screw diameter, screw length and ground conditions, and we will confirm which model can turn your ground screw before we quote.
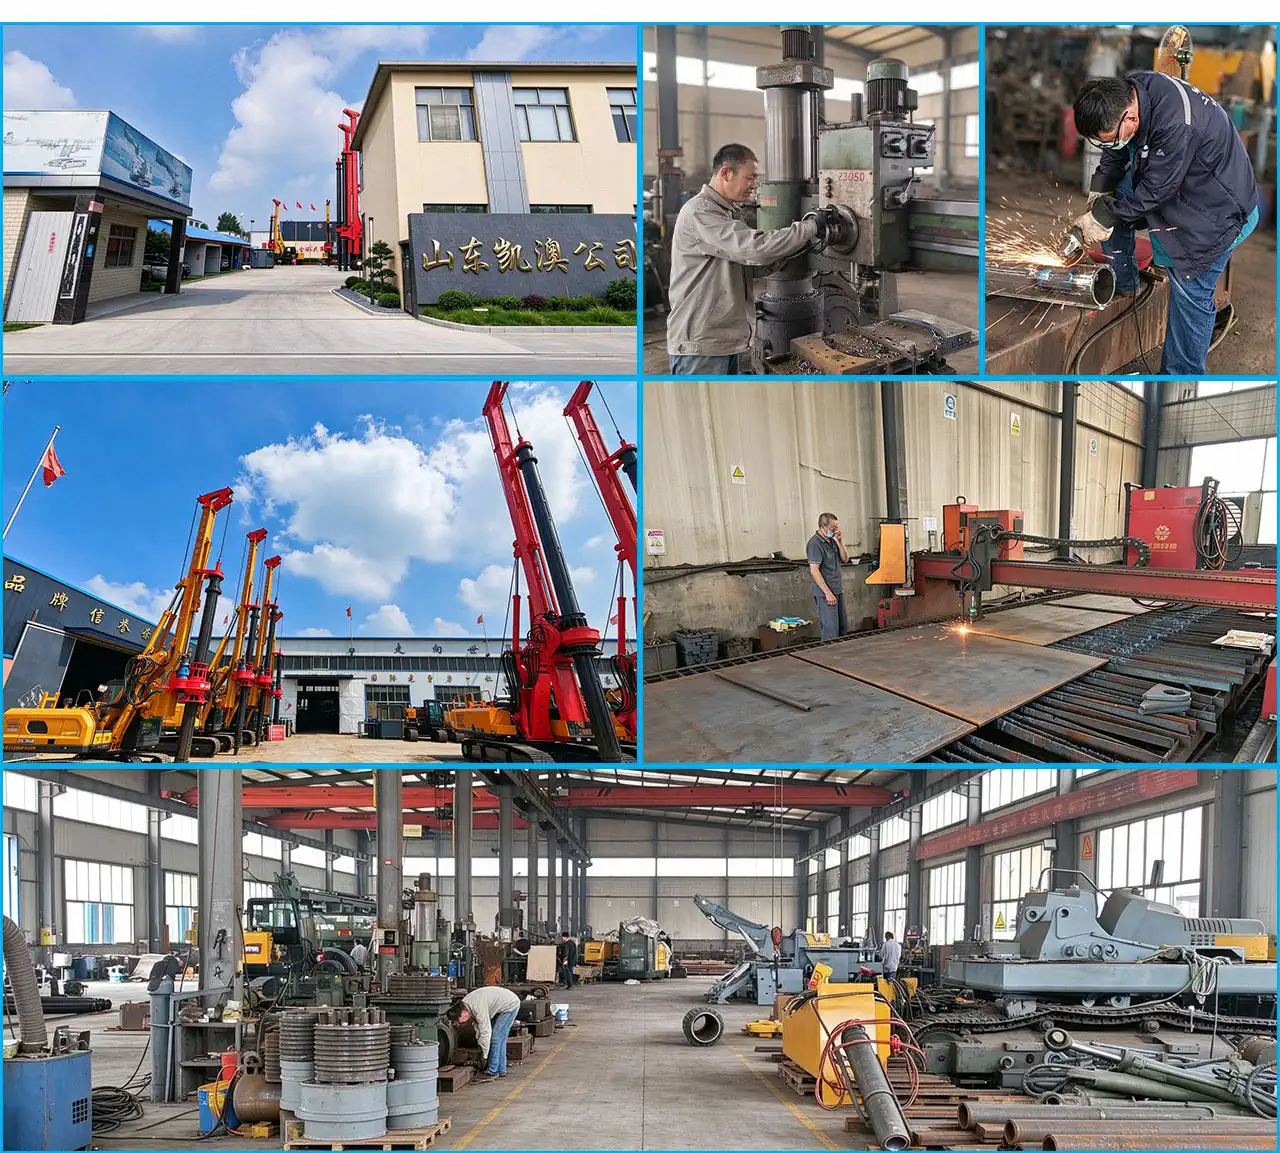

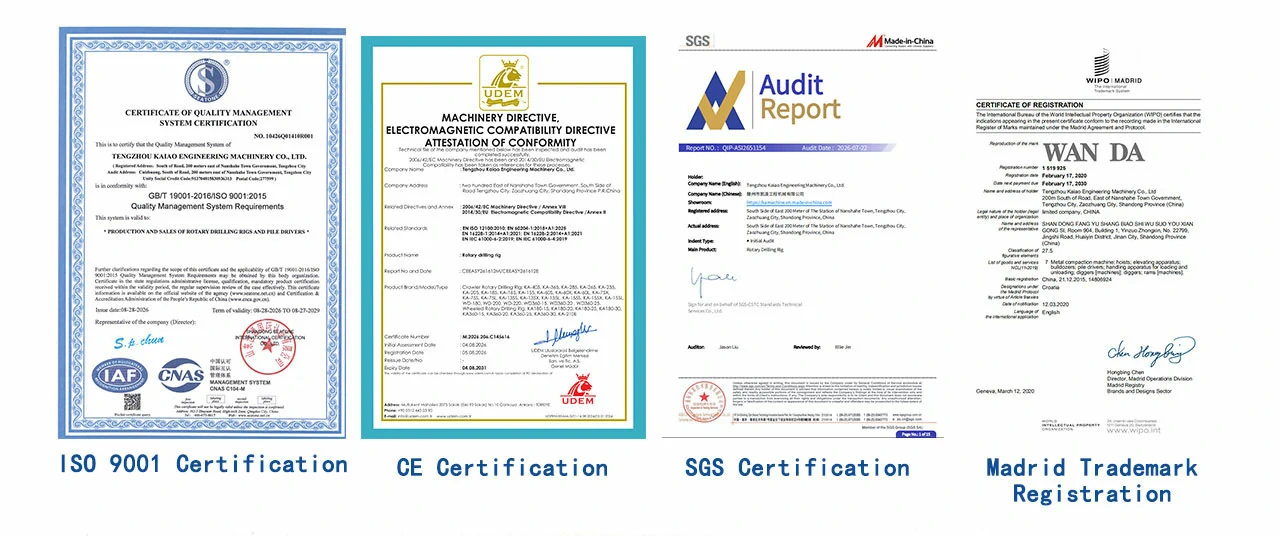

The full range for solar projects is under solar pile driving equipment. Learn more about Kaiao.
A ground screw foundation is a steel shaft with a helical thread that is rotated into the ground to carry loads without concrete. On a solar farm it supports the mounting frame. It passes load into the soil by friction along the shaft and, where it reaches a firm layer, through the tip.
A ground screw foundation is installed by marking each position, pre-drilling where the ground is hard, and rotating the screw in plumb while the torque is watched and recorded. Selected screws are then load tested, and the racking is fitted. The project specification sets the exact steps.
Ground screws do not always need pre-drilling, but dense clay, gravel, stones and rock often call for a pilot hole. In soft soil the screw may go in directly. The designer and the site data decide, and a pilot hole also helps keep the screw on line.
Ground screws cannot thread into solid rock on their own, so a hole is usually drilled first, for example with a DTH hammer, and the screw is placed in it. The tooling and compressed air supply depend on the rock. Send your ground information so the setup can be checked.
A ground screw foundation is checked with load tests on sample screws and with the torque record taken during installation. The engineer compares the two. The project specification sets how many screws are tested and to what load, in uplift and sideways.
Ground screws are installed with hand-held drivers, a drive head on an excavator or skid steer, or a dedicated crawler machine. The choice depends on the number of screws, the screw size and the ground. A crawler machine can carry an auger, a drive head and a DTH hammer.
Installing ground screws is not the same as driving piles with a hammer. A ground screw is rotated into the ground, and the soil is pushed aside with low vibration. A DTH hammer is used only to drill a hole in rock before the screw goes in.
Ground screws can be backed out of the ground, and the ICSMGE paper notes they can be recycled or reused after quality control. This is useful for temporary works and for sites that must be returned to their original state. Reuse depends on the screw’s condition after inspection.
Send the ground screw diameter and length, the ground conditions, whether rock is present, the project location and the power supply. With those details, Kaiao can tell you honestly which machine fits. Site photos and the soil report make the recommendation more accurate.
Planning a solar ground screw project? Send us the screw diameter and length, the ground conditions, the power supply and the destination, and we will tell you honestly which machine fits.
Scan with WeChat. On a phone, save the image and scan it from your album.
Send us your project details and we will reply with a recommendation and a quotation.
Send an Email